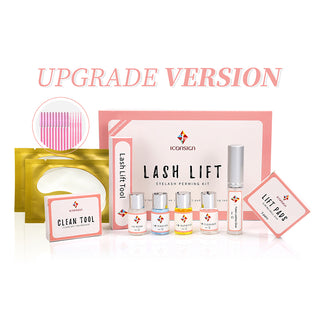
Upgrade Version Lash Lift Kit Lifting Eyelashes Lashes Perm Dropshipping And Can Do Your Logo
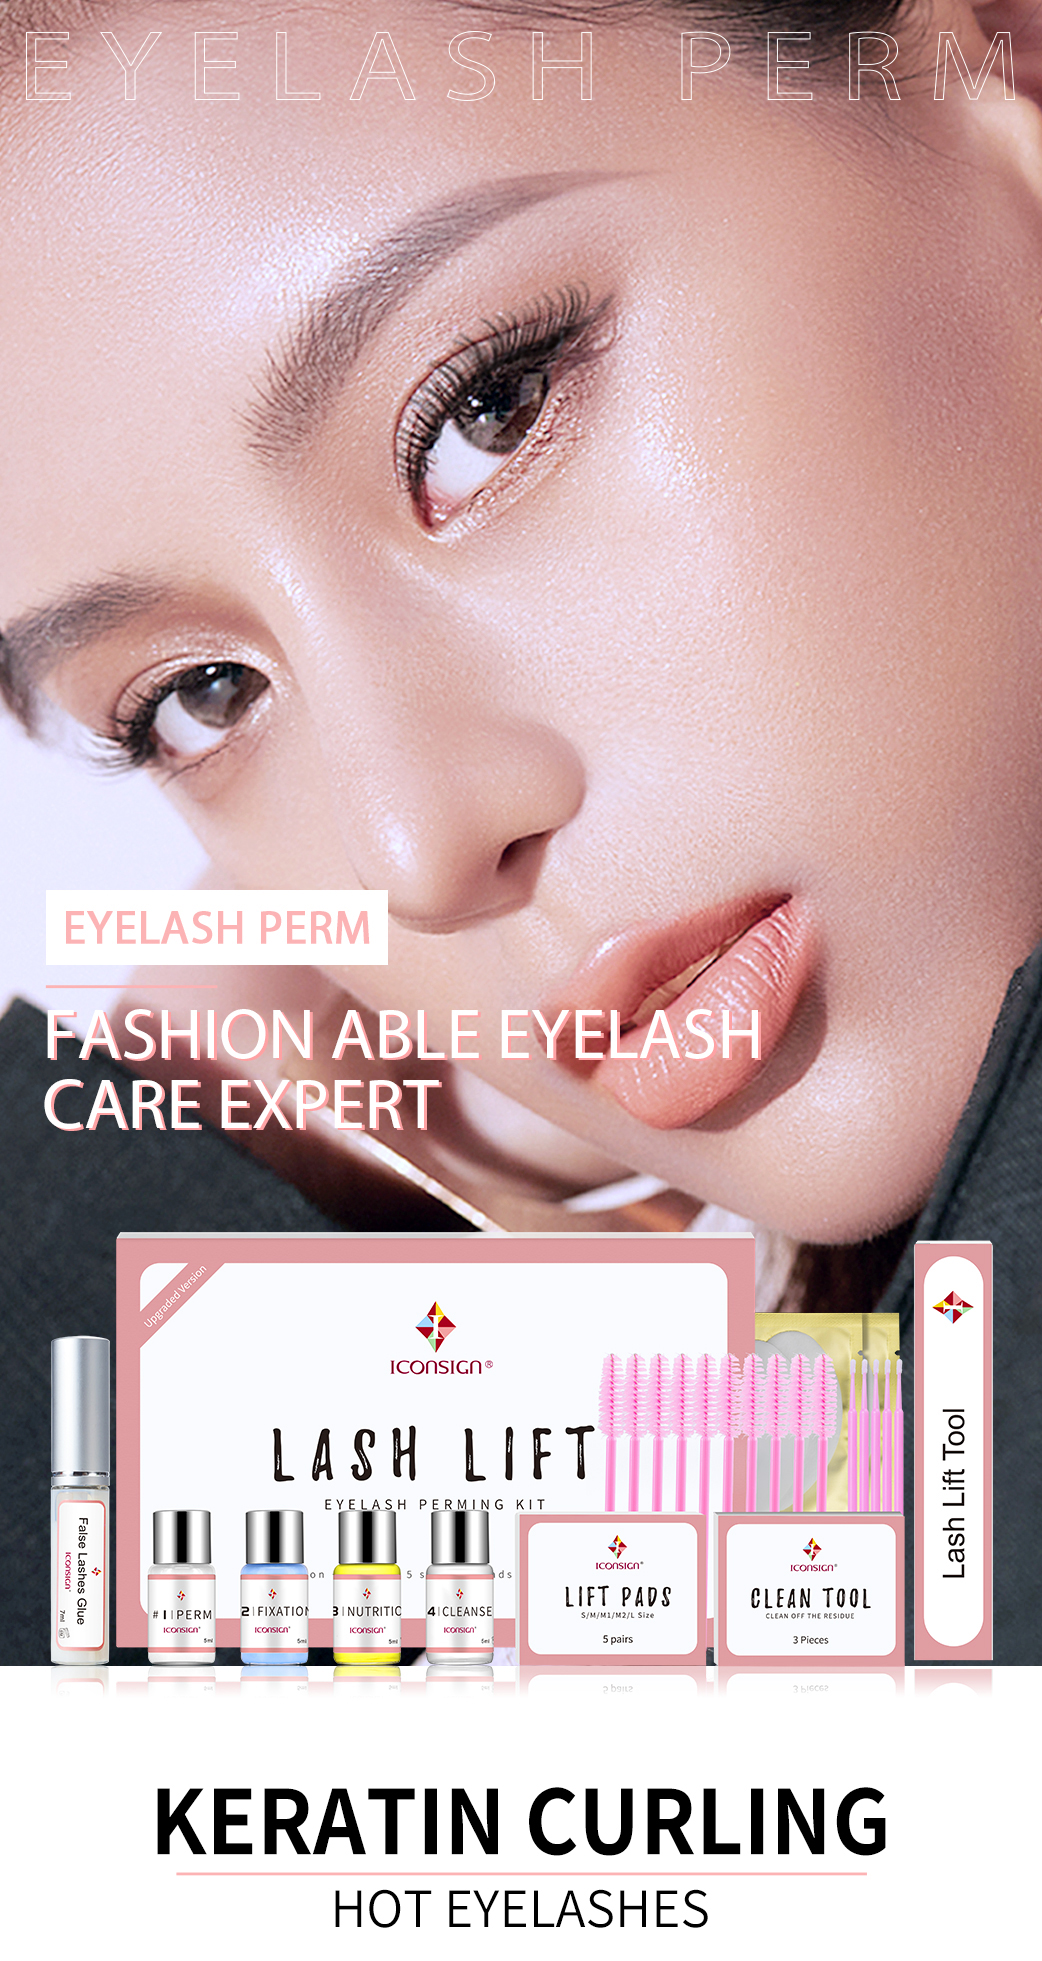
Keep 6 weeks of curled lashes without falsies, extensions or mascara
• Stunning curled eyelashes lasting 6 to 8 weeks
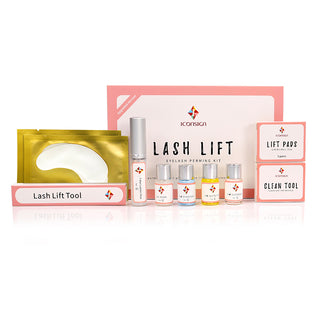
• Complete 10-piece kit – no extras needed
• Easy application for professional and personal use
• Gentle ingredients approved
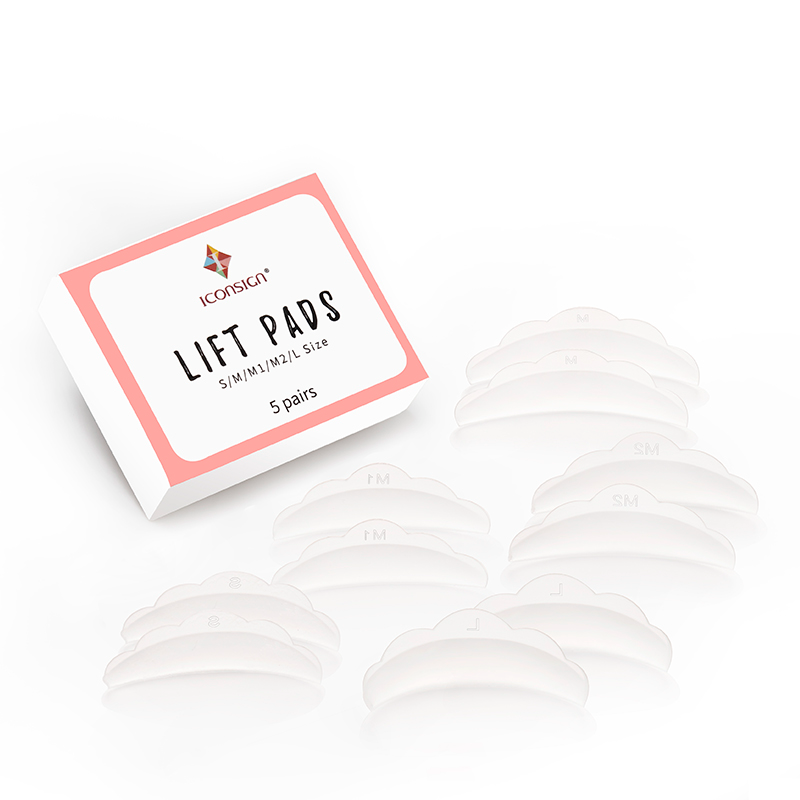
• Reusable lash-lifting rods in 5 sizes
Lifts and curls your natural lashes for up to 3 months
Once you have permed your lashes, to keep that curl fresh and luscious for 2–3 months apply the aftercare formula every 4–5 days. There's a bottle of it packed with nourishing ingredients included in your kit.
PERFECT LASHES HAVE NEVER BEEN EASIER!!
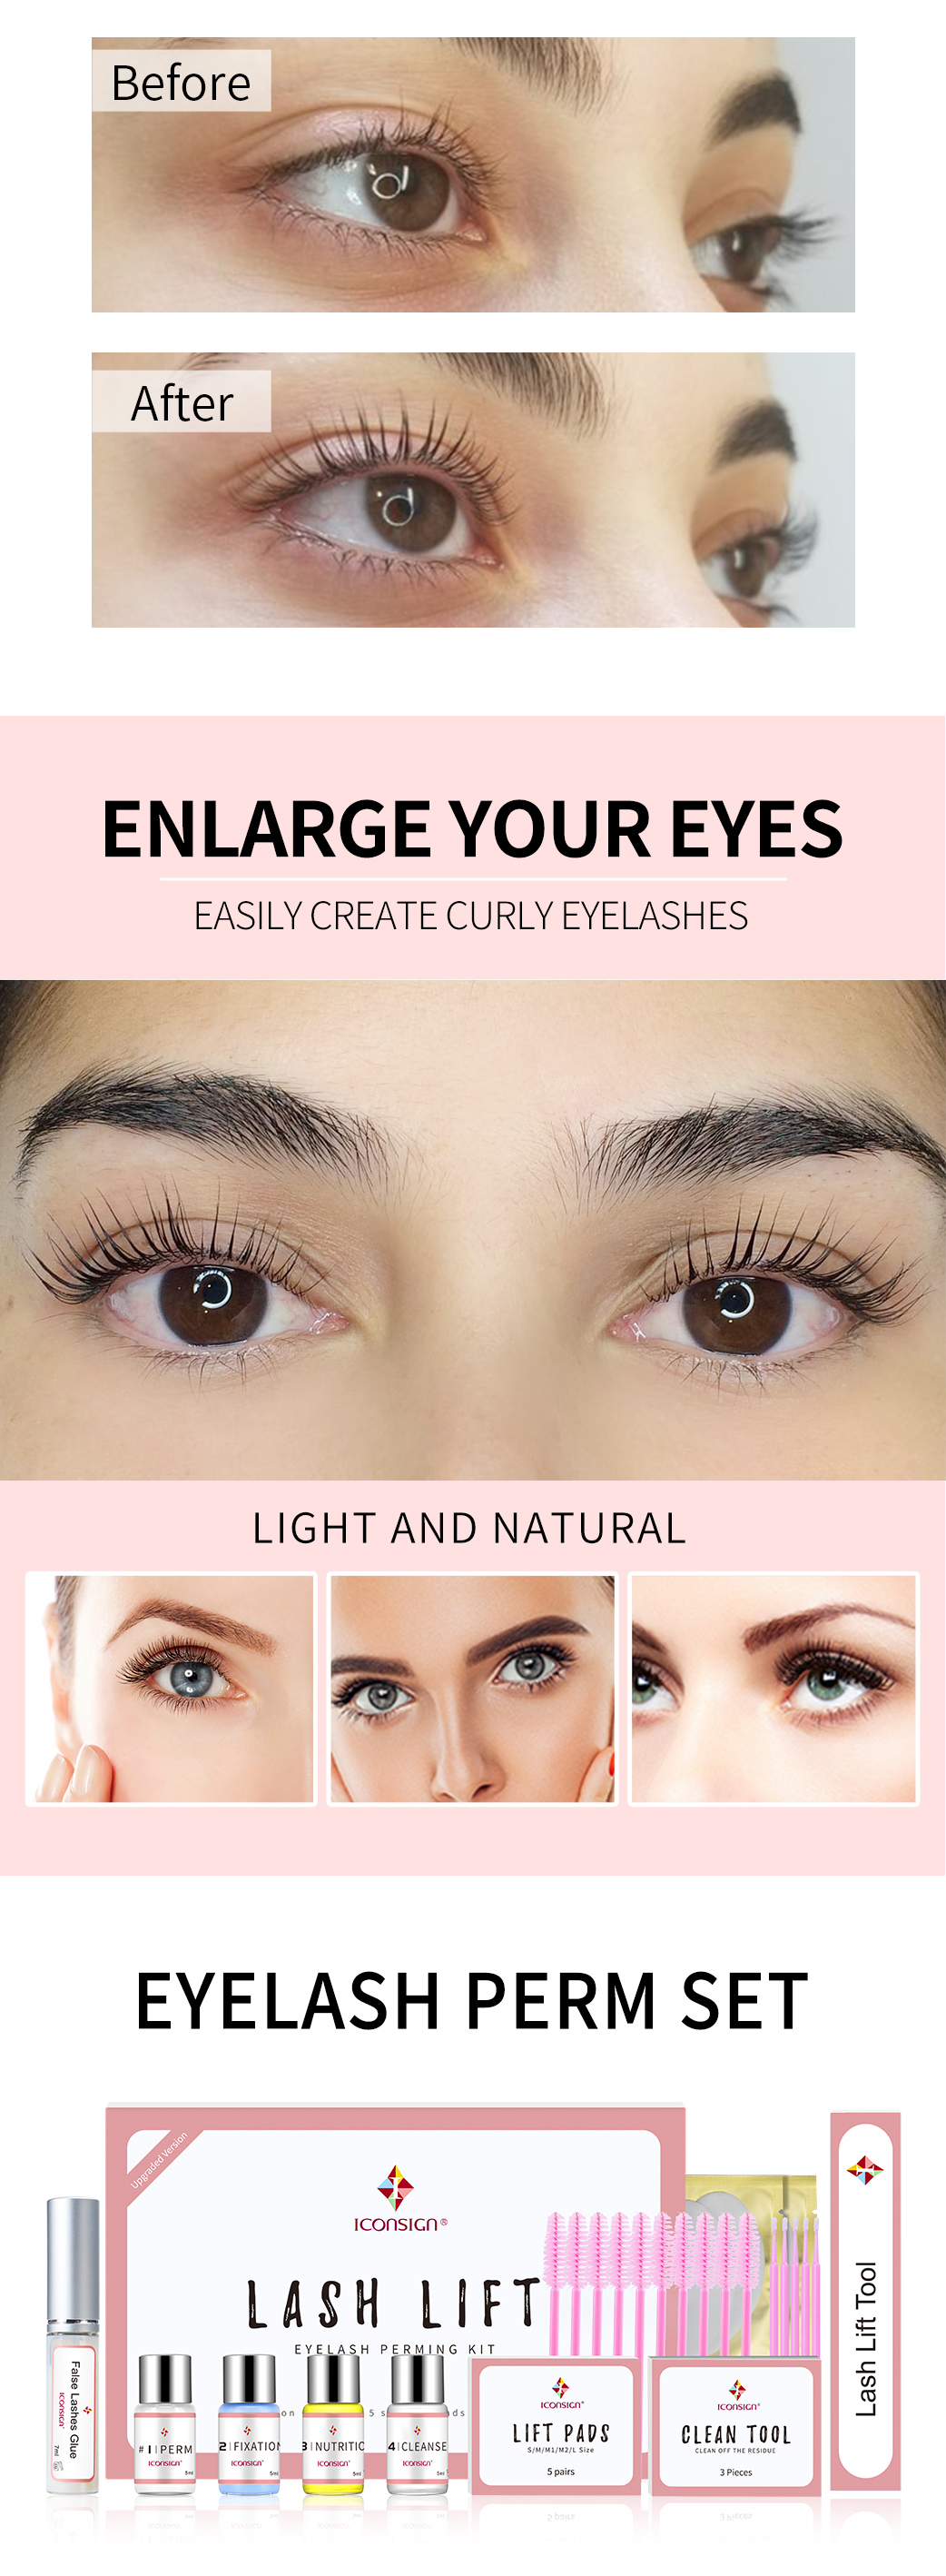
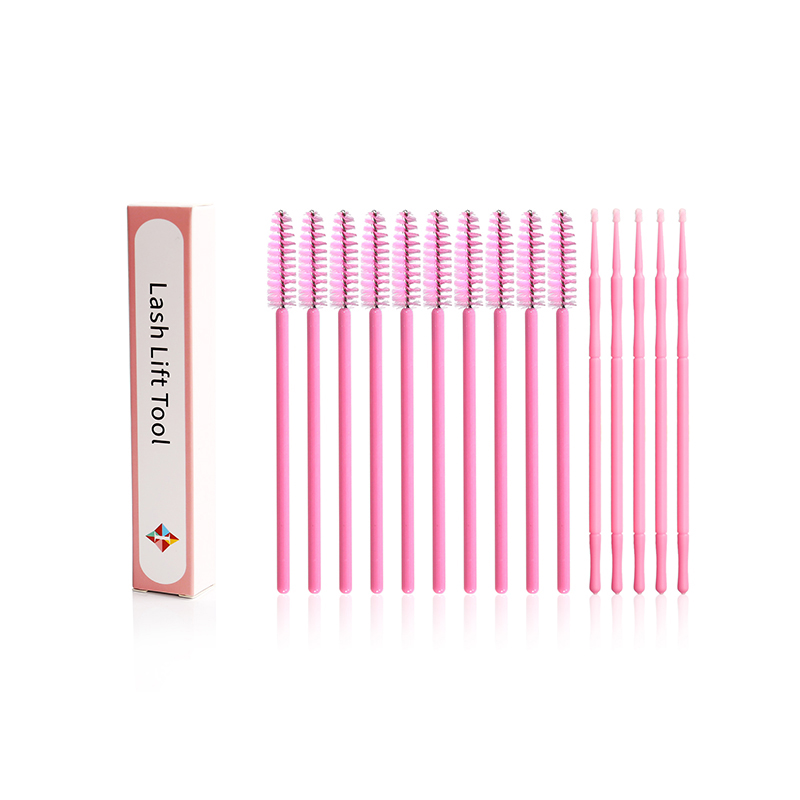
A 10-piece set with everything you need for a full lash perm
You won't have to buy any other tools, creams or glue. All you need for a long-lasting curl comes in one box.
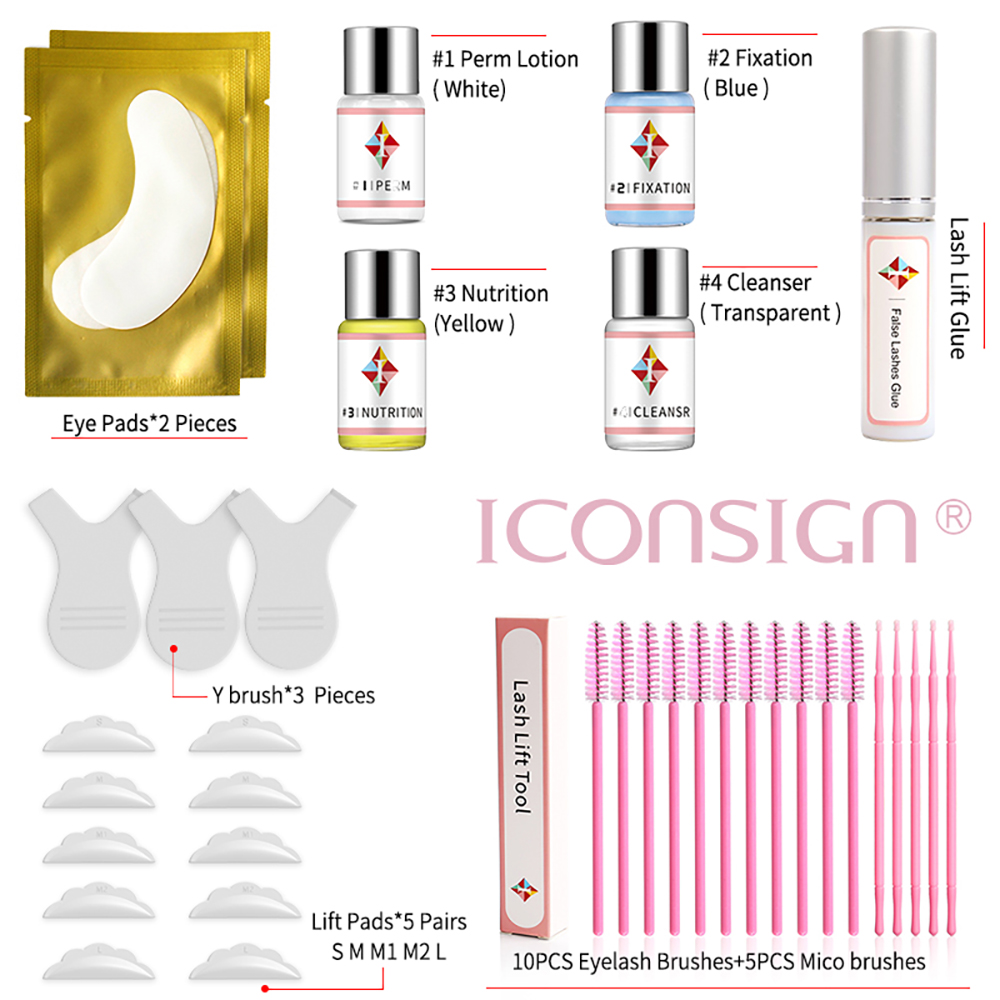

Easy-to-follow application instructions for professionals and amateurs alike
Do your own lashes at home or give lash-lift treatments to friends. Everyone from beginners to professional lash technicians will be able to work from the straightforward, 9-step instructions.
How to use?
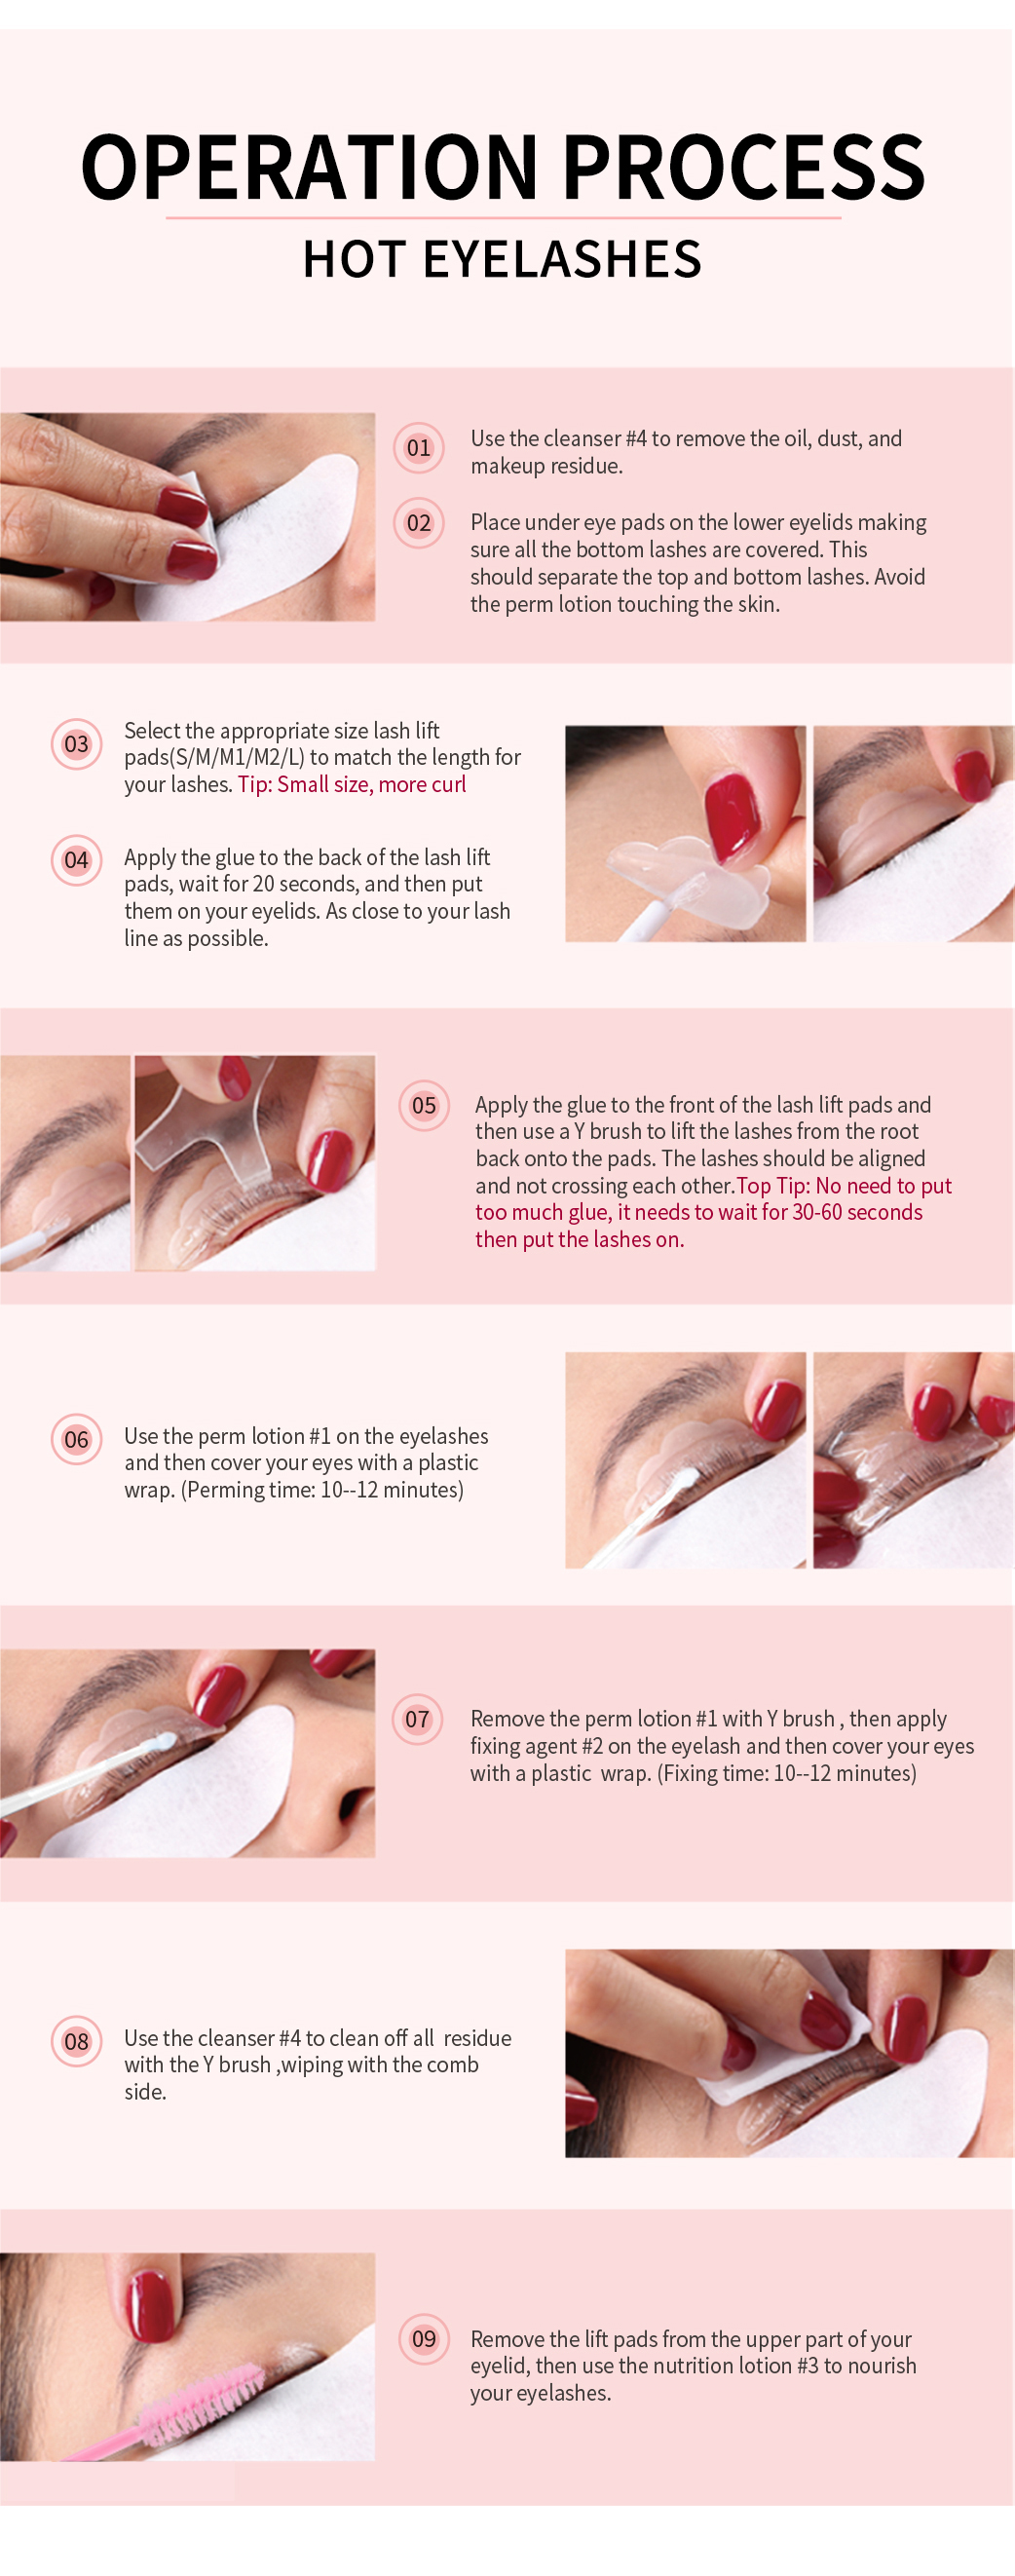
Application Instructions:
Step 1: Use the cleanser to remove any oil, dust or makeup residue from the eyelashes
tep 2: Put the under-eye pads on the lower eyelids
Step 3: Apply the glue to the back of the lash lift pads, wait for 20 seconds, then put them on your eyelids. As close to your lash line as possible.
Step 4: Apply the glue to the front of the lash lift pads.
Top Tip: No need to put too much glue, it needs to wait for 30-60 seconds then put the lashes on.
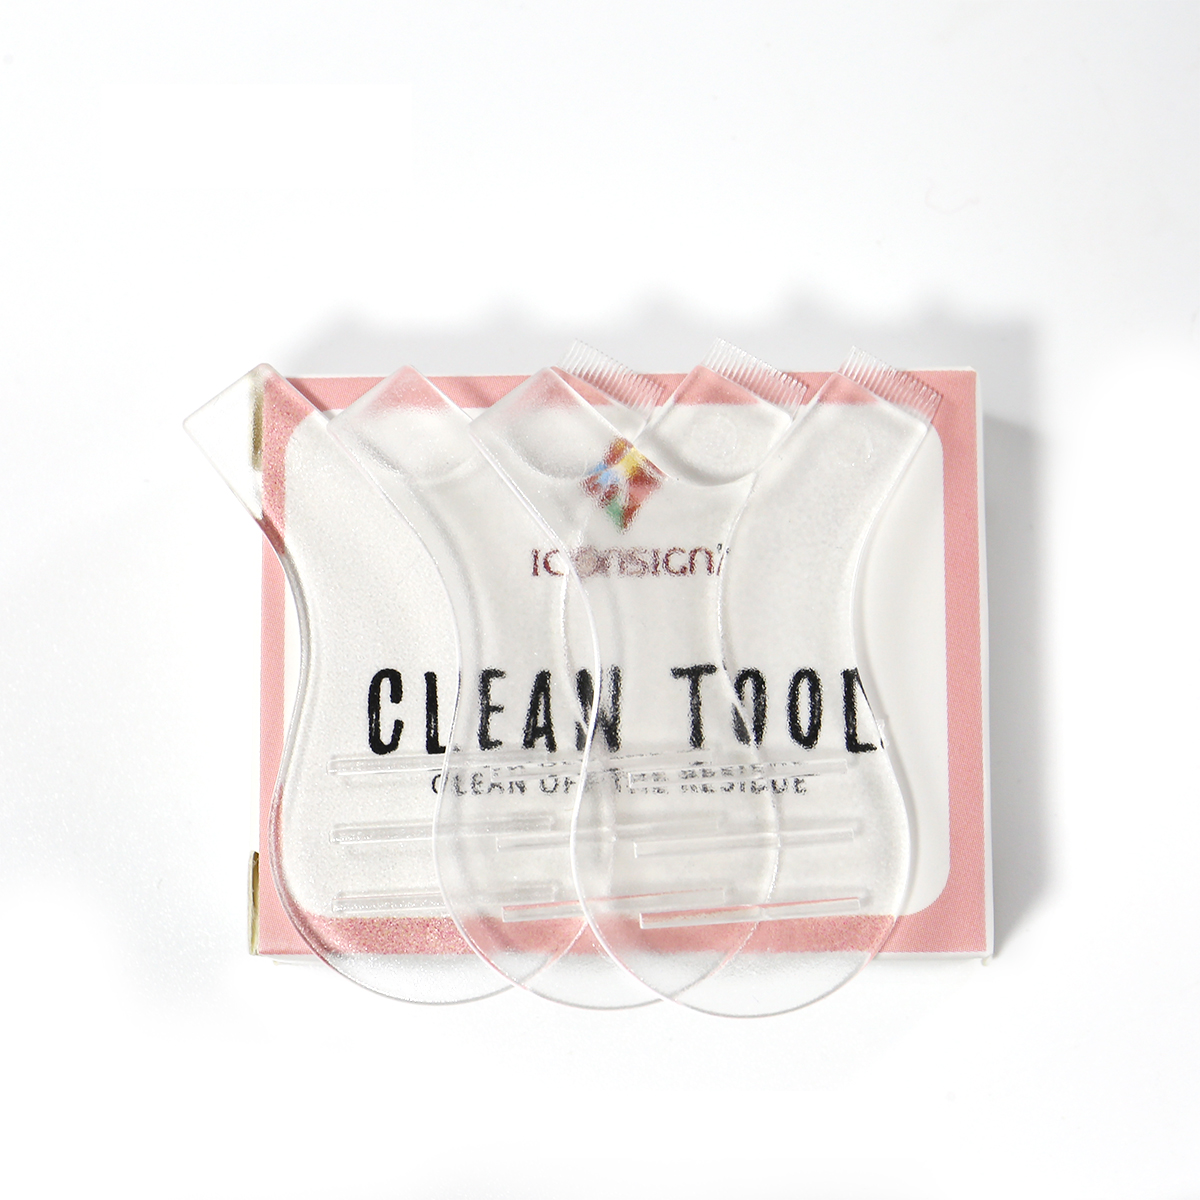
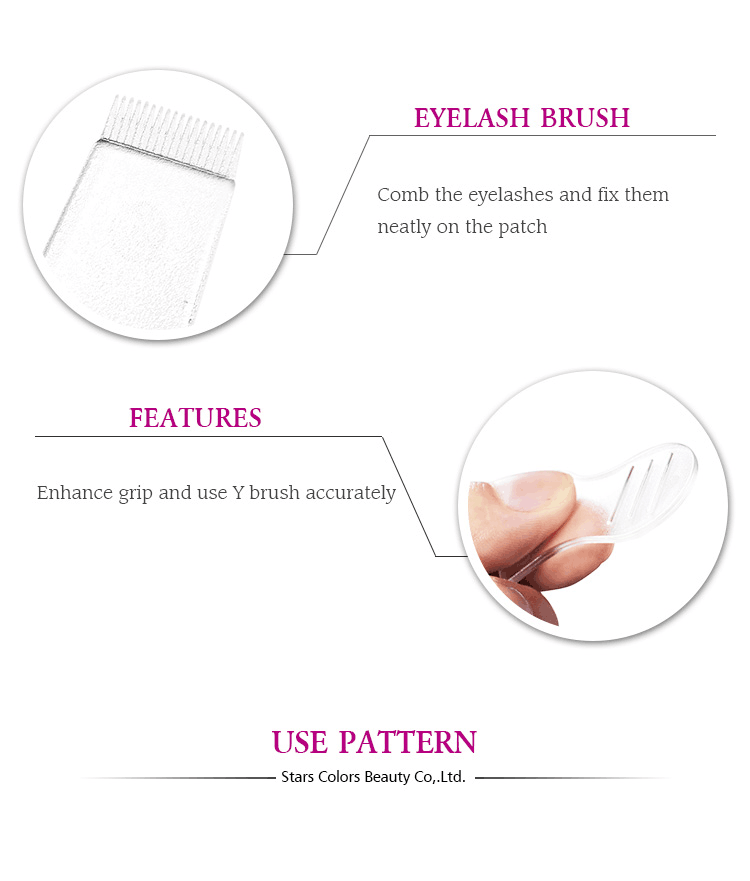
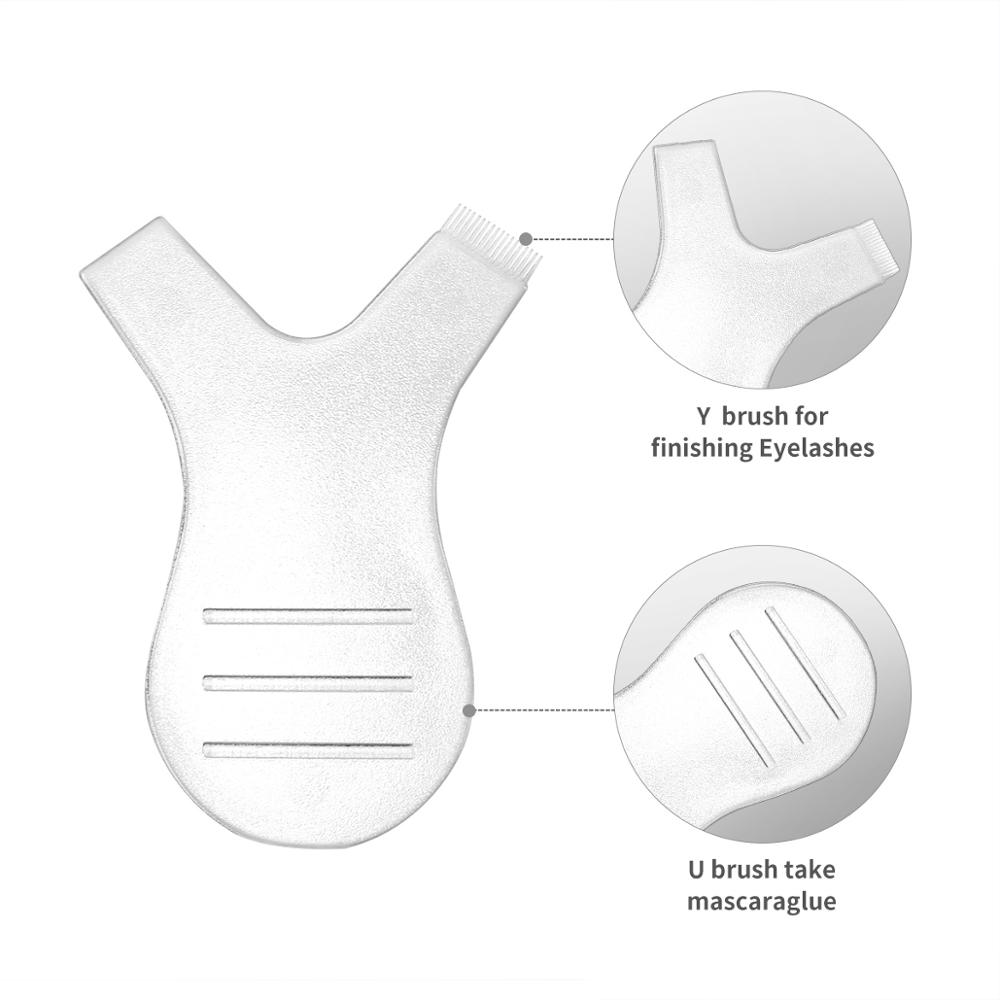
Step 5: Use a Y brush to lift the lashes from the root back onto the pads. The lashes should be aligned and not crossing each other.
Step 6: Apply the perming lotion #1 to the eyelashes. Then cover the eyes with plastic wrap and leave for 10 minutes.
Step 7: Remove the perm lotion #1 with Y brush , then apply the fixing lotion #2 to the eyelashes. Then, cover the eyes again with plastic wrap and leave for 10 minutes.
Step 8: Remove the plastic wrap , and use the cleanser #4 to remove any product residue,with the Y brush ,wiping with the comb side.
Step 9: Last, remove the lift pads from the upper part of your eyelid, then use the nutrition lotion #3 to nourish your eyelashes.
Aftercare instructions:
Apply the nourishing aftercare formula to your lashes once every 4–5 days.
Approved ingredients that are kind to your skin
Safety-tested and certified, the carefully formulated products won't irritate the delicate skin around your eye. Still, you should always do an allergy test 24 hours before use.
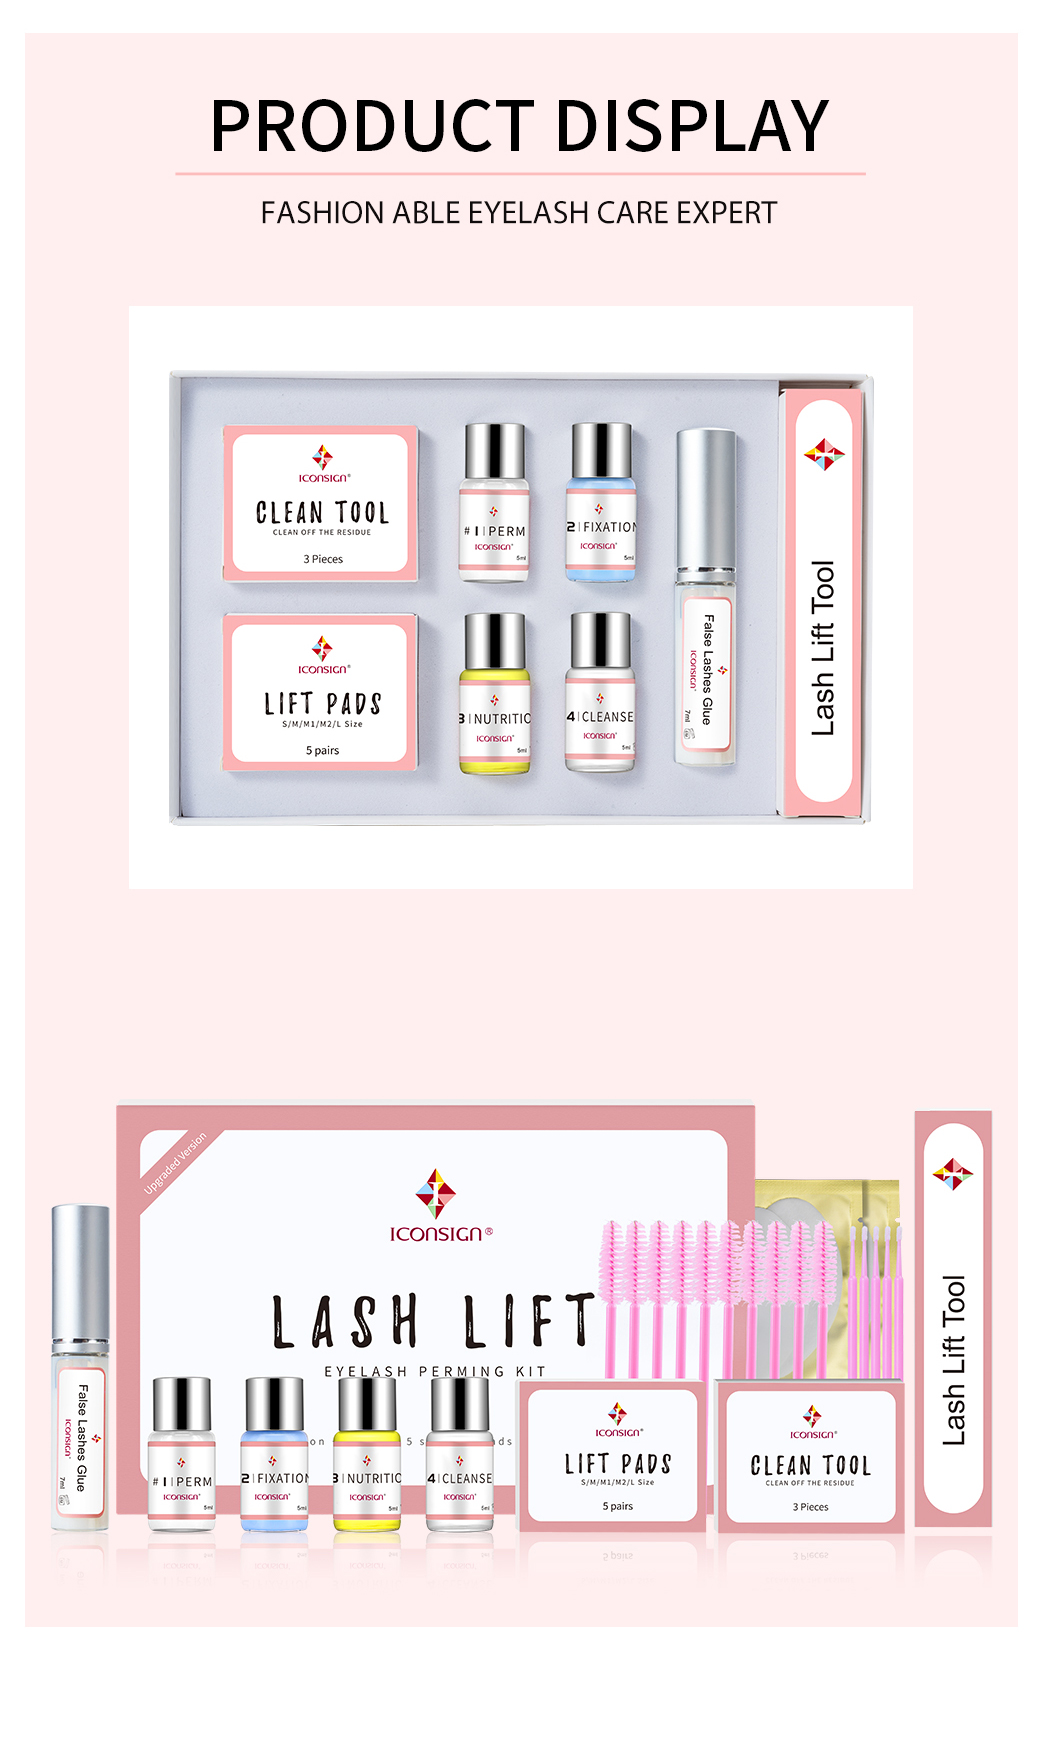
Eyelash Brush:10 pieces; Mico brush:5 pieces
Add some text to tell customers more about your product.
Upgrade Version Lash Lift Kit Lifting Eyelashes Lashes Perm Dropshipping And Can Do Your Logo
Keep 6 weeks of curled lashes without falsies, extensions or mascara
• Stunning curled eyelashes lasting 6 to 8 weeks
• Complete 10-piece kit – no extras needed
• Easy application for professional and personal use
• Gentle ingredients approved
• Reusable lash-lifting rods in 5 sizes
Lifts and curls your natural lashes for up to 3 months
Once you have permed your lashes, to keep that curl fresh and luscious for 2–3 months apply the aftercare formula every 4–5 days. There's a bottle of it packed with nourishing ingredients included in your kit.
PERFECT LASHES HAVE NEVER BEEN EASIER!!


A 10-piece set with everything you need for a full lash perm
You won't have to buy any other tools, creams or glue. All you need for a long-lasting curl comes in one box.


Easy-to-follow application instructions for professionals and amateurs alike
Do your own lashes at home or give lash-lift treatments to friends. Everyone from beginners to professional lash technicians will be able to work from the straightforward, 9-step instructions.
How to use?

Application Instructions:
Step 1: Use the cleanser to remove any oil, dust or makeup residue from the eyelashes
tep 2: Put the under-eye pads on the lower eyelids
Step 3: Apply the glue to the back of the lash lift pads, wait for 20 seconds, then put them on your eyelids. As close to your lash line as possible.
Step 4: Apply the glue to the front of the lash lift pads.
Top Tip: No need to put too much glue, it needs to wait for 30-60 seconds then put the lashes on.
Step 5: Use a Y brush to lift the lashes from the root back onto the pads. The lashes should be aligned and not crossing each other.
Step 6: Apply the perming lotion #1 to the eyelashes. Then cover the eyes with plastic wrap and leave for 10 minutes.
Step 7: Remove the perm lotion #1 with Y brush , then apply the fixing lotion #2 to the eyelashes. Then, cover the eyes again with plastic wrap and leave for 10 minutes.
Step 8: Remove the plastic wrap , and use the cleanser #4 to remove any product residue,with the Y brush ,wiping with the comb side.
Step 9: Last, remove the lift pads from the upper part of your eyelid, then use the nutrition lotion #3 to nourish your eyelashes.
Aftercare instructions:
Apply the nourishing aftercare formula to your lashes once every 4–5 days.
Approved ingredients that are kind to your skin
Safety-tested and certified, the carefully formulated products won't irritate the delicate skin around your eye. Still, you should always do an allergy test 24 hours before use.

Eyelash Brush:10 pieces; Mico brush:5 pieces


Add some text to tell customers more about your product.

